
I still remember my first flight with my drone, the nerves, the absolute terror, the stress of it possibly crashing any second into a massive (and very expensive) fireball! Those first few flights are a blur to me, not once did I give any thought on how I can use my camera for anything other than dodging the obstacles I saw in my live feed.
200+ flights later, I’ve noticed that the camera on the drone can be used for more than just dodging trees and angry birds. Since that clumsy first flight, my South African aerial photography photos have been displayed in exhibitions, published in DJI’s Above The World drone photography book and some even featured on Daily Mail and other online publications.
Looking back, there are 10 tips I wish I knew from the start, and I would like to present them to you now:
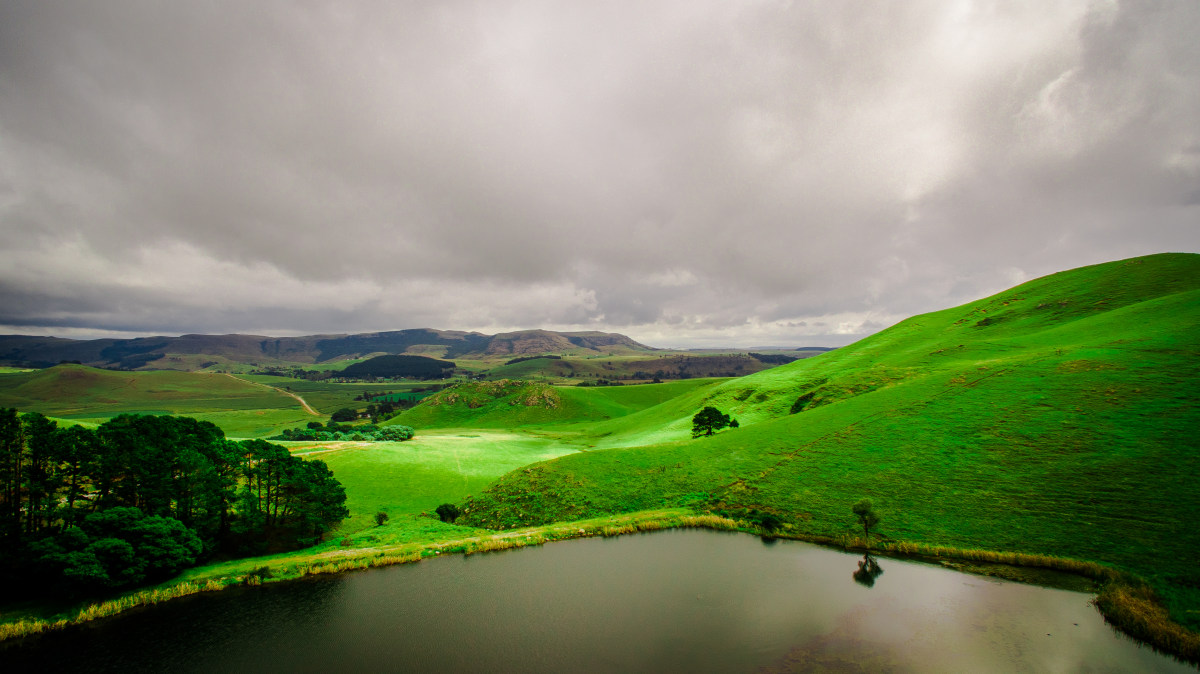
1.Be comfortable, be safe, be relaxed
Aperture:2.8 Shutter Speed:1/570s ISO:100 Type:Phantom 3 Advanced
There are a billion things you need to do every second to keep your trusty drone in the air, the last thing you need is to fight someone off that wants your shoes! Before you launch your drone, take a few minutes to make sure you are comfortable and safe. Doing so helps you focus on your flying and you might just spot that next amazing shot you have been looking for.
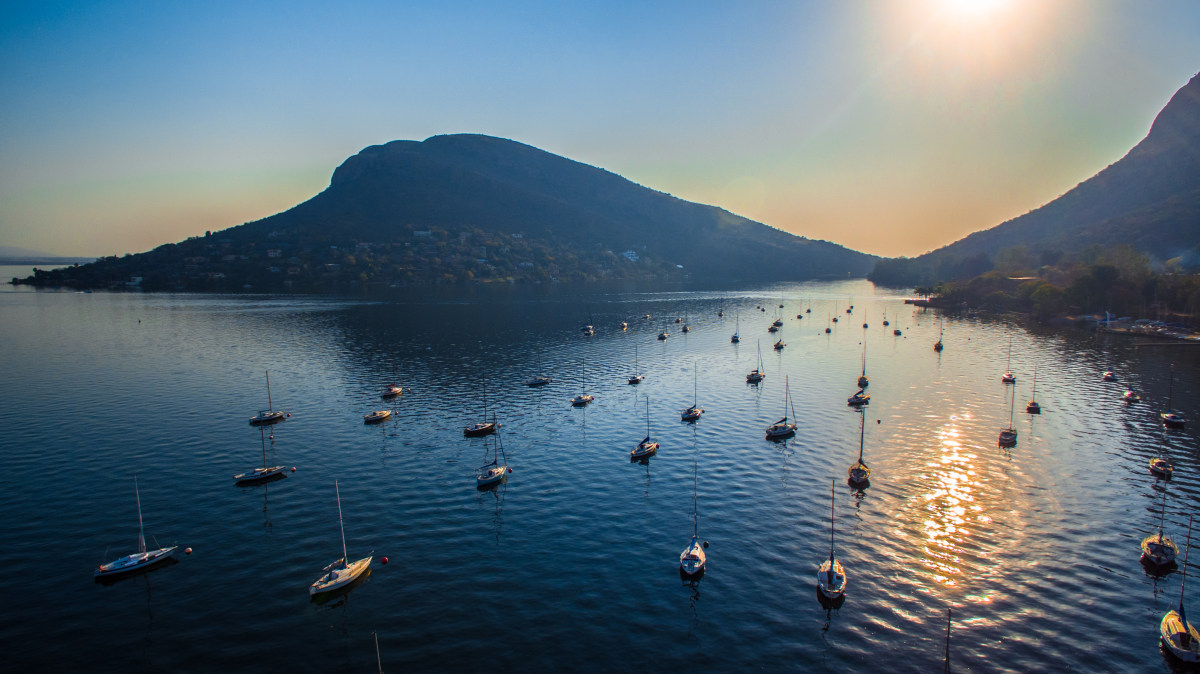
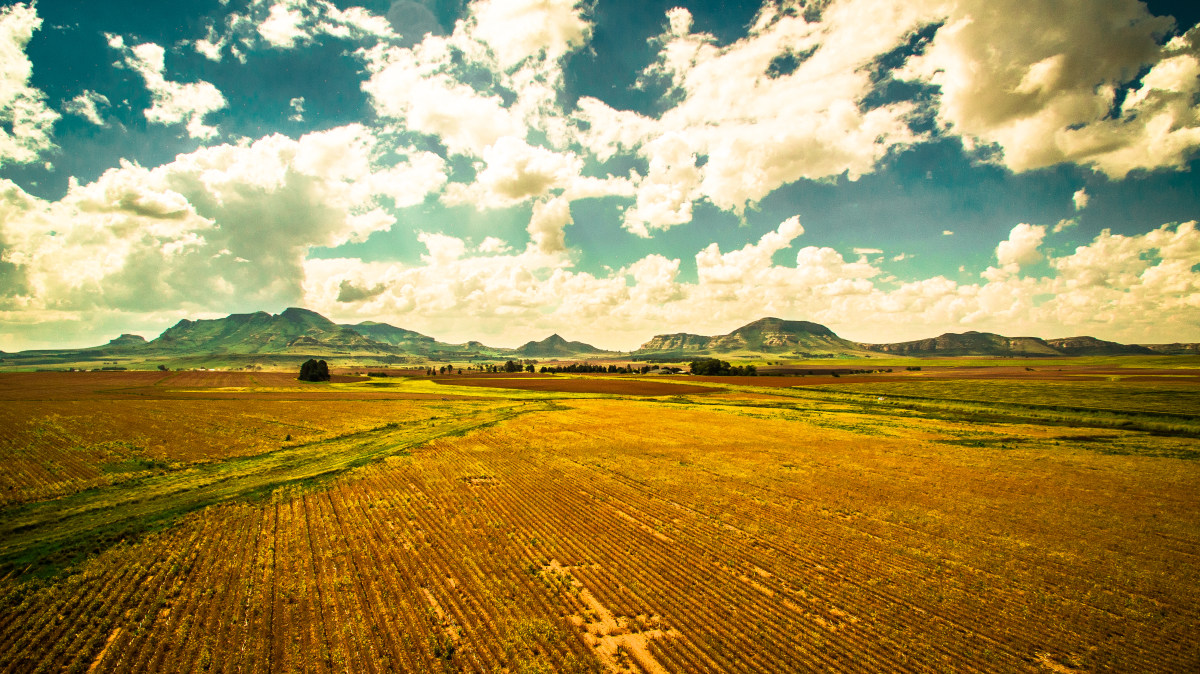
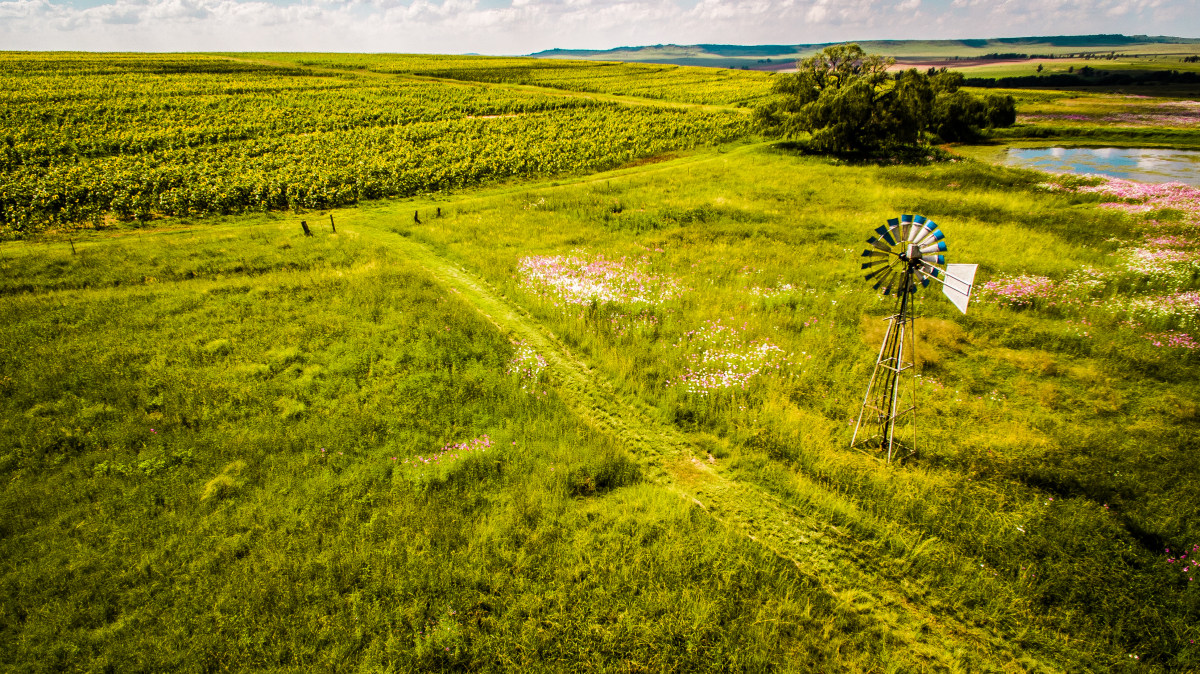
2.The magic-hour is golden
Aperture:2.8 Shutter Speed:1/1800s ISO:100 Type:Phantom 3 Advanced
Get up early and make sure to take your photos during the magic-hour! The magic-hour (also known as the golden-hour) is that magical time shortly before sunset and after sunrise. The light will be softer, colors enhanced and everything will just look a thousand times more amazing than usual!
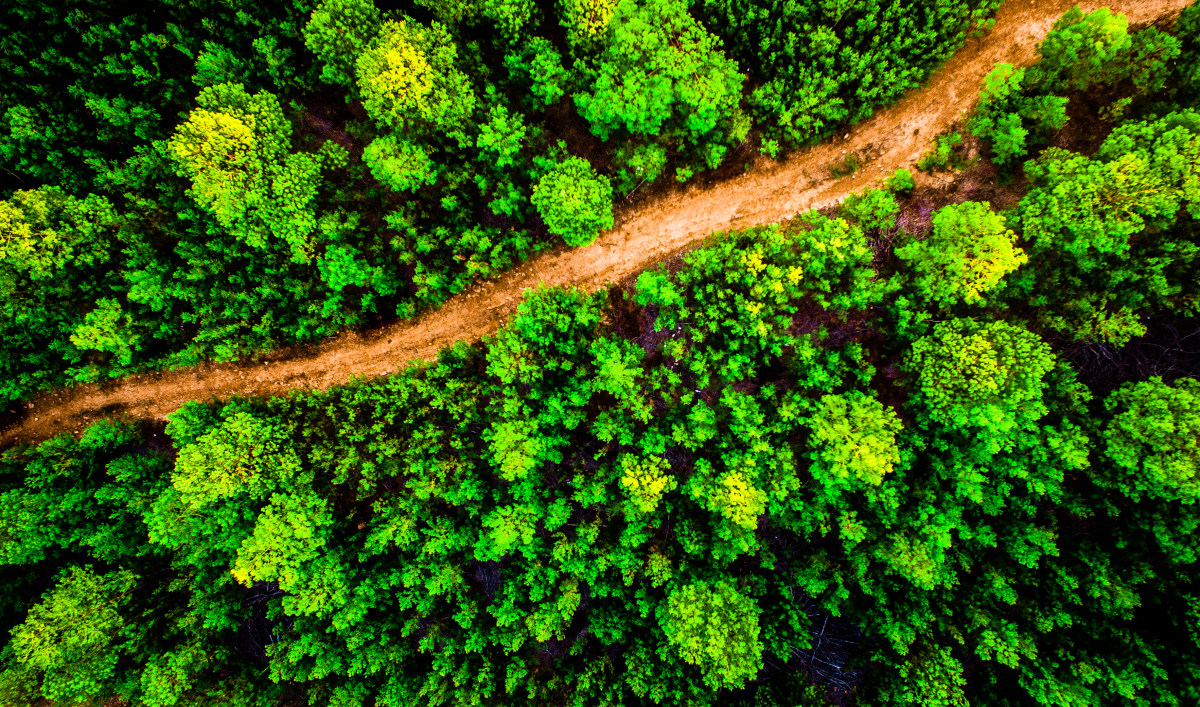
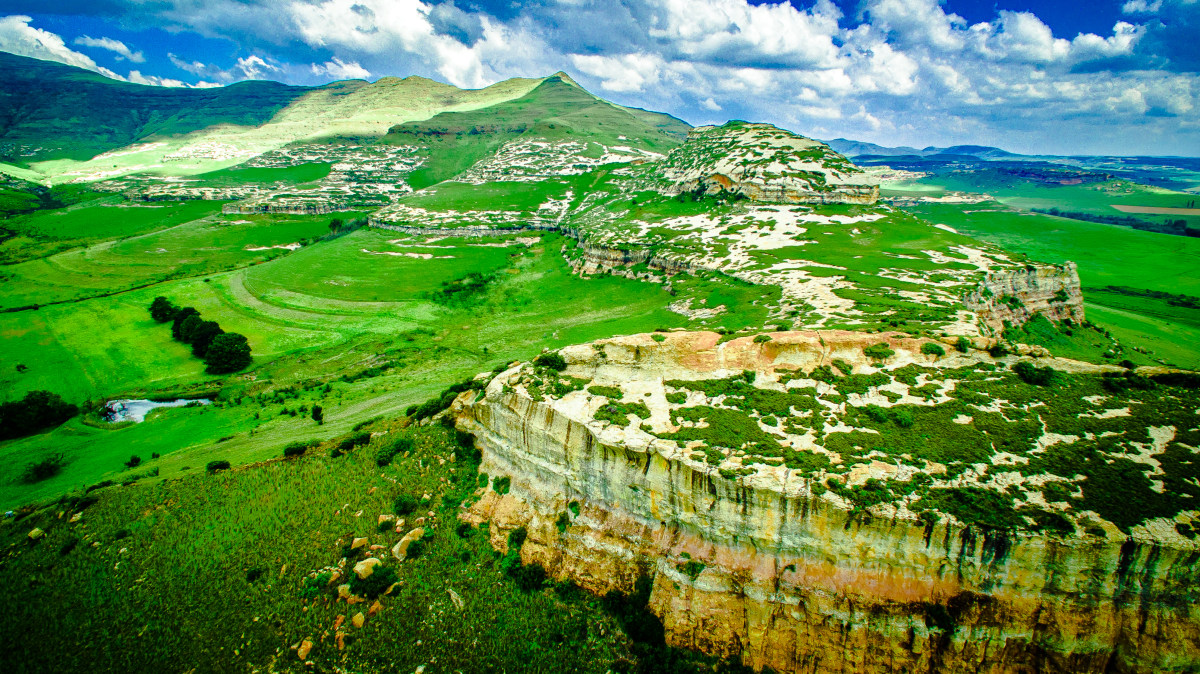
3.Use the grid thingy
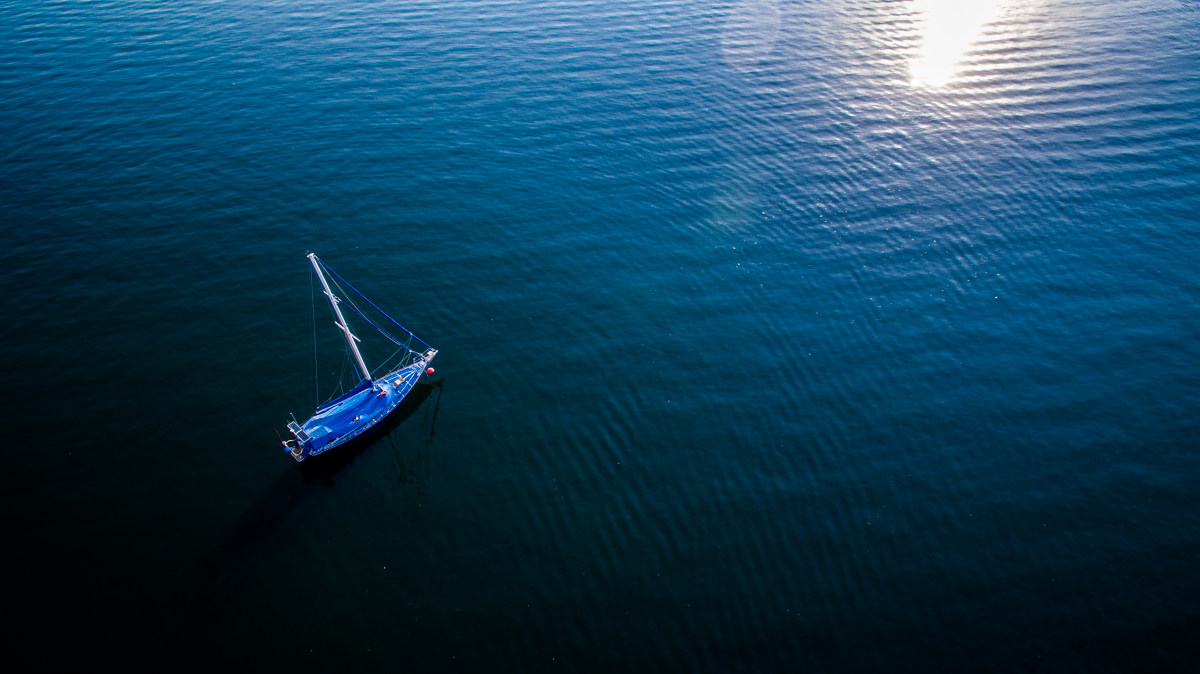
Aperture:2.8 Shutter Speed:1/60s ISO:146 Type:Phantom 3 Advanced
Ever noticed how you can enable that weird grid thing on your drone? It is not for upping your bird chasing game, it was added so you can compose your photos using the rule of thirds. There are more detailed explanations available on the rule of thirds and how to apply it, but I recommend you just try it by taking a few photos while using the grid to frame your photo with your subject / focus point on one of the the vertical grid lines or where the lines intersect. Your photos will look more balanced.
4.Shoot in raw with D-log mode
Aperture:2.8 Shutter Speed:1/1050s ISO:100 Type:Phantom 3 Advanced
Switch your drone to capture in raw mode using D-log colour mode, if possible. This seems counter-intuitive as your preview seems washed out and murky, but stick with it! Using this method gives you way more to work with when editing your photo in post-production as it captures the maximum amount of detail possible for the scene you are capturing
5.Bracket your photos (AEB)
Aperture:2.8 Shutter Speed:1/1800s ISO:100 Type:Phantom 3 Advanced
With so many things to worry about in the air and sun glare messing with your live preview, it can be very difficult to get the correct exposure level for your photos. Luckily we have auto-exposure-bracketing (AEB) ! AEB takes multiple photos of varying exposures, once you have taken your bracketed photos, choose the one with the best exposure or combine all of them into one to create beautiful HDR photos.
6.ND Filters
Aperture:2.8 Shutter Speed:1/1250s ISO:100 Type:Phantom 3 Advanced
Probably the only accessory you will ever need, but never think you do! ND filters (neutral density filters) absorbs light while preserving color. Basically, ND filters are sunglasses for your drone! Since most of our flying is done in sunny conditions, photos can easily get over-exposed. With an ND filter, you can filter out this light and get your photo’s exposure level down to something usable. They are available in different f-stop reduction levels, I would recommend starting with an ND8 filter.
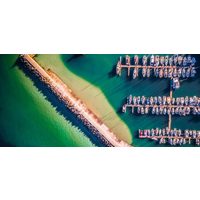
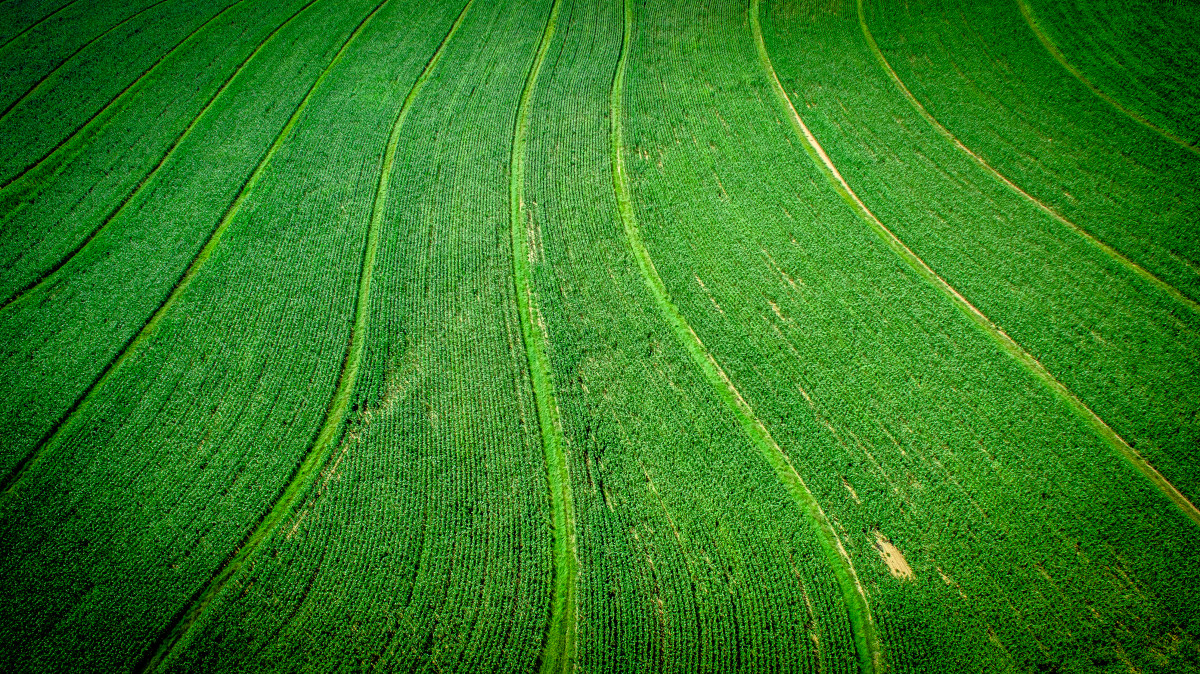
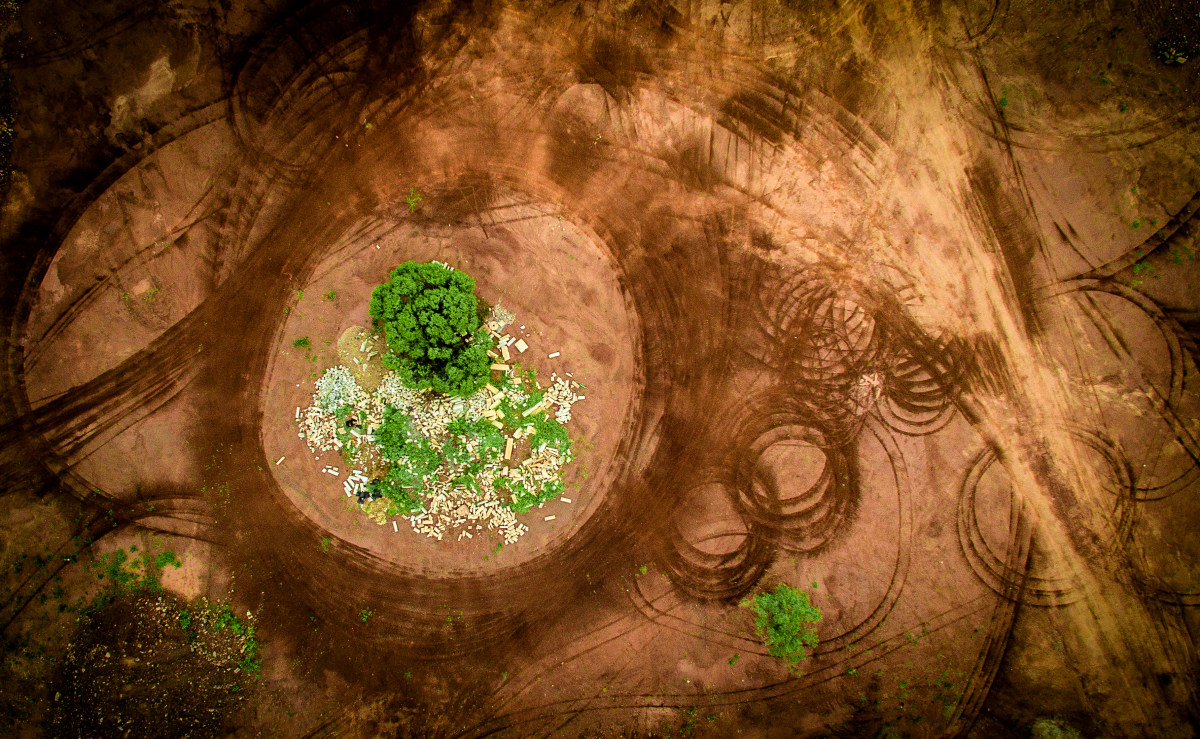
7.Look down every now and again
Aperture:2.8 Shutter Speed:1/25s ISO:106 Type:Phantom 3 Advanced
Us humans are land-living folk, we spend most of our lives flat on our feet on the ground.
Aerial photography is popular and appealing because we give people the opportunity to see something in a way they have never been able to see it before. Next time you try to capture something, try looking straight down, you will be surprised by the amazing sights, patterns and secrets you will find!
8.Get yourself a photo editing tool, fool!
Aperture:2.8 Shutter Speed:1/400s ISO:100 Type:Phantom 3 Advanced
Ever noticed how your raw photos just don’t compare to what you see posted online? No, your camera is not faulty, the other guys cheated, which is okay, since you can too! To really make your photos stand out, invest in a post-production photo tool and follow the other tips mentioned here. For my photos, I use Adobe Lightroom and I highly recommend it. We are lucky to have powerful post-production editing tools at our disposal, all the options and sliders can, however, be very daunting. Rather than spending hours reading theory and manuals, I recommend you just start experimenting and having fun with the software’s options. Start from the top, select a slider or option, max it out, watch the effect it has on your photo, then bring it down to it’s minimum and observe the effect it has on your photo again. Put it where you feel it looks best for your photo and then repeat the process on the next option. Try this on all the sliders in Lightroom, you will be amazed by what is possible!
9.Histo-what?
Aperture:2.8 Shutter Speed:1/110s ISO:100 Type:Phantom 3 Advanced
The little graph thingy you see at the top of Lightroom, that just maxed out when you made everything purple when you tried the editing tips mentioned previously here, that is called a color histogram. This shows you the color distribution in your image. When experimenting or changing colors in post-production, keep an eye out on this guy while editing, you want to keep all your colors from hitting the ceiling to prevent overexposure and burned out colors.
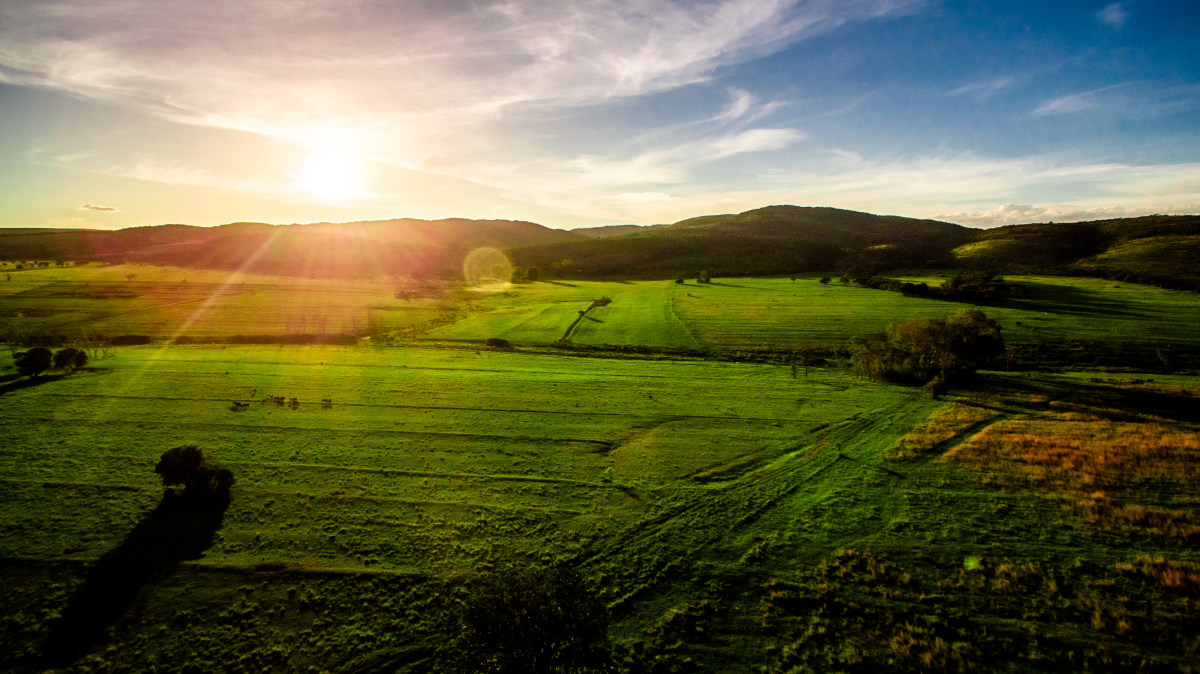
10.Explore
Aperture:2.8 Shutter Speed:1/15s ISO:204 Type:Phantom 3 Advanced
If all your photos start to look the same, it is probably a good idea to stop flying the same spot. Get your family or friends and go have an adventure, the new areas you visit might provide you with some much-needed variety in your portfolio.